Experiencing water damage drywall in your home can be incredibly frustrating. Water has a knack for finding its way into even the tiniest cracks and crevices, wreaking havoc on various surfaces, including drywall. When faced with water-damaged drywall, it’s crucial to address the issue promptly. In this article, we will guide you through the process of repairing water-damaged drywall.
Water damage to drywall can lead to a range of problems, such as cracks, holes, mold and mildew growth, as well as swelling and buckling. The extent of the damage and the location where water has seeped in will determine whether the drywall needs to be completely replaced or partially repaired.
Indications of Water Damage to Drywall
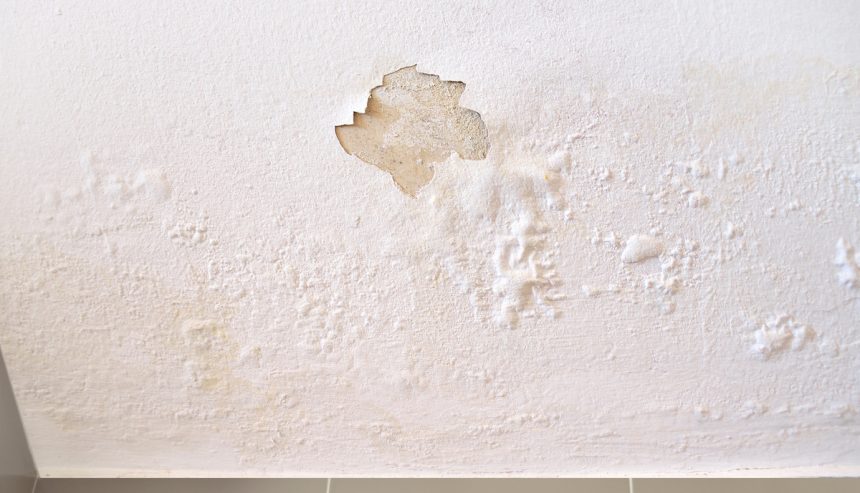
- Discolored Water Stains: One prominent sign is the presence of noticeable water stains on the wall, indicating water damage.
- Mold Traces: Thoroughly examine the surrounding area of the wall for any signs of mold growth. Mold tends to thrive in damp environments such as bathrooms, kitchens, attics, and basements. Pay attention to any unusual appearance of wallpaper as well.
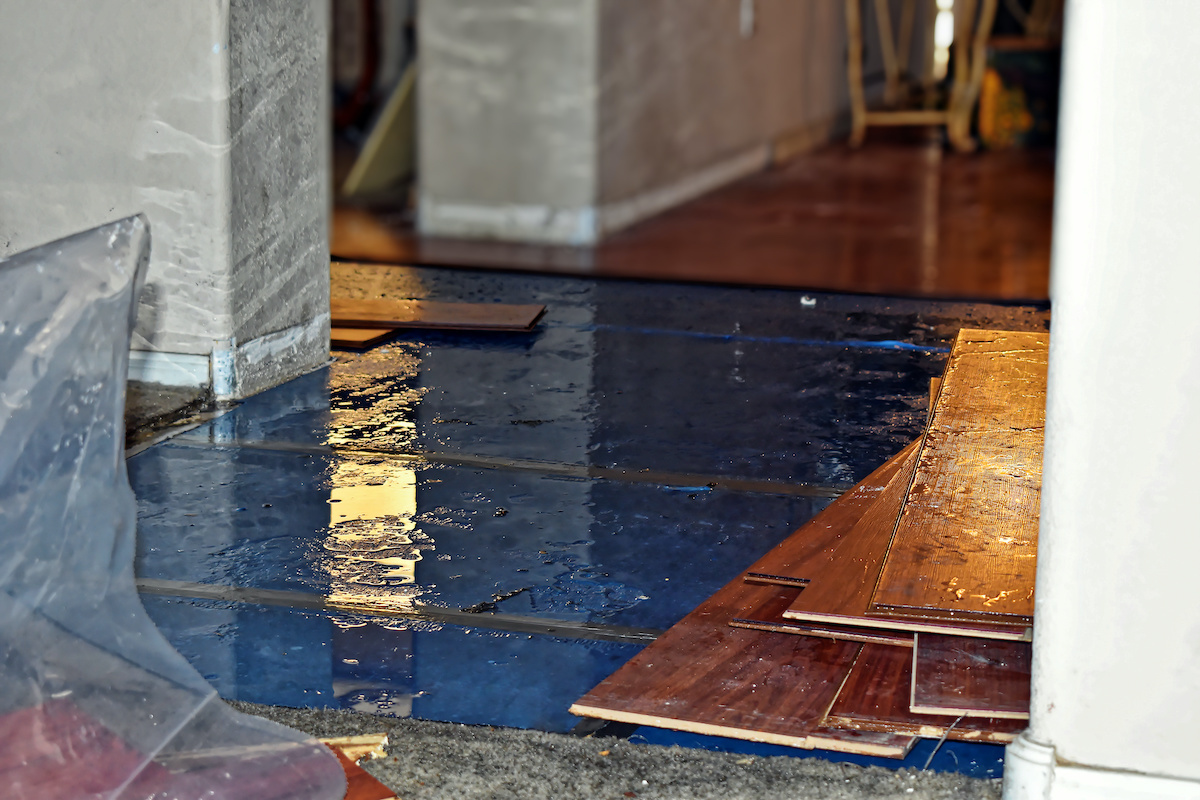
- Flooring Effects: Another indication of water damage can be observed on the floor. Moisture often seeps from the subsoil, leading to the development of cracks or holes. It is essential to inspect the flooring for any such issues.
Essential Considerations Prior to Water-Damaged Drywall Repair
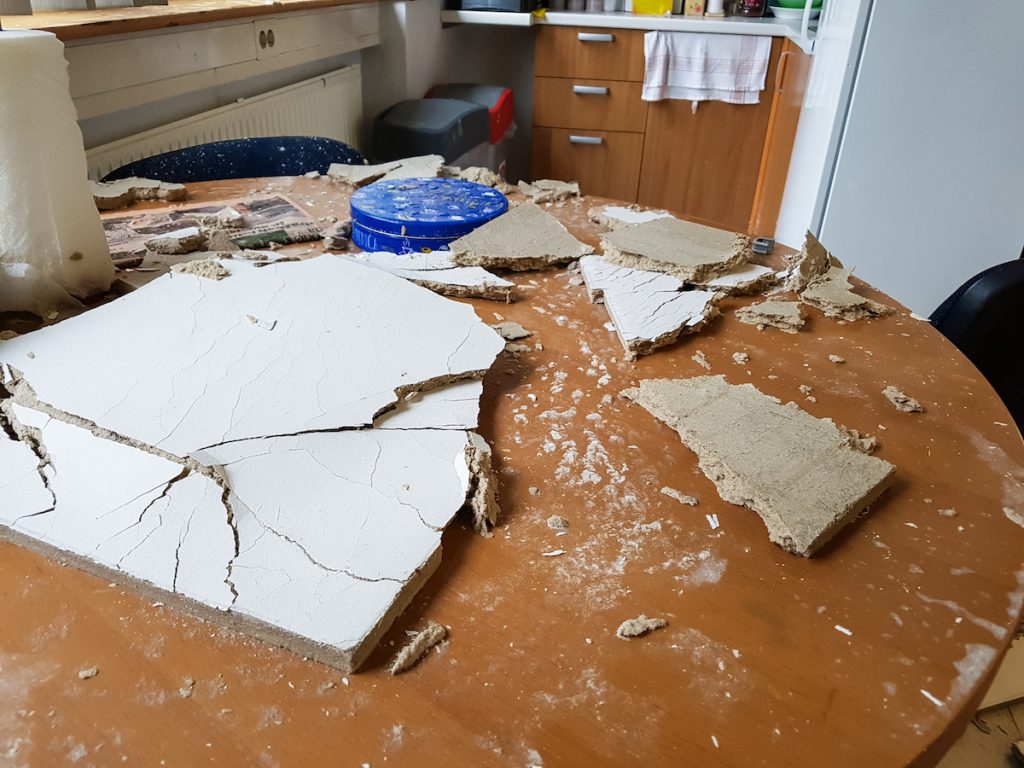
If wet drywall is caused by overhead flooding, the ceiling may collapse. Thus, when dealing with drywall ceiling water damage, your personal safety may be at risk. In this case, have your property’s structure assessed by a professional restoration company, like PuroClean.
In addition, if the drywall water damage was caused by sewage backup, immediately consult certified professionals for repairs. This kind of job involves safety protocols and biohazard cleanup services that are often beyond the capacity of typical homeowners.
Before fixing the water-damaged drywall, locate the water source. Extract the standing water and dry the area. The longer the water sits, the greater the damage to your drywall will be.
Preventing Further Damage: How to Repair Water-Damaged Drywall
Neglecting water-damaged drywall can exacerbate the existing problems. Fortunately, the process of repairing water-damaged drywall is relatively straightforward. Here’s a step-by-step guide on how to restore water-damaged drywall and mitigate further damage:
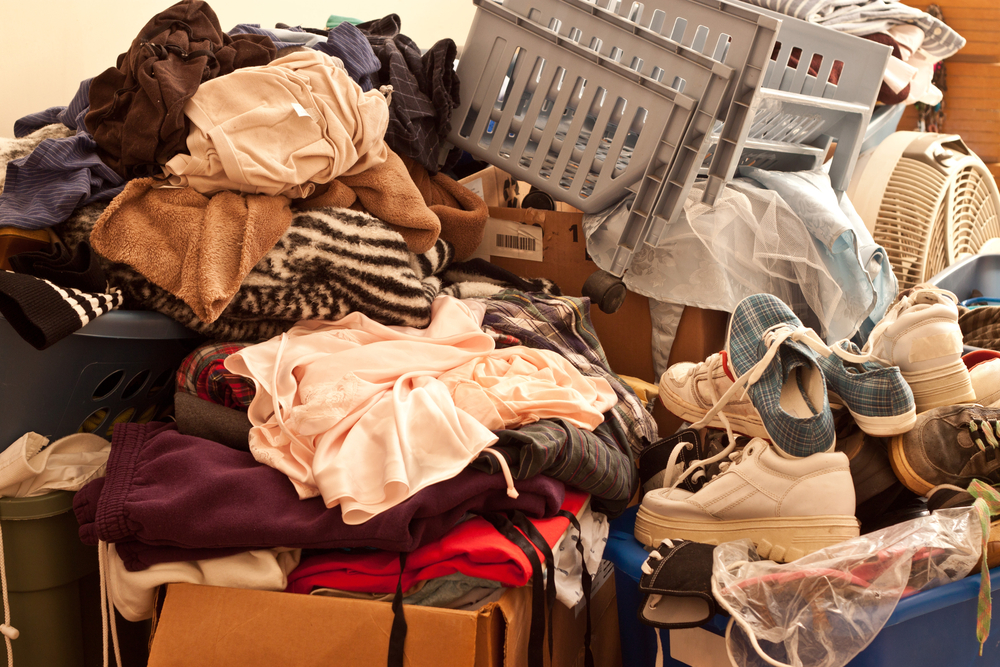
- Clear the area: Remove any water-soaked furniture and building materials. If there is wet carpet and padding, either remove them entirely or pull them back to allow the floor to dry out effectively.
- Prioritize safety: When removing drywall, take necessary safety precautions. Wear respiratory protection, especially if the drywall joint compound contains asbestos. Additionally, remove non-affected electrical outlets before tearing out the wall material. Make sure to switch off the circuit breakers first. If the outlets have been exposed to flooding, remove and discard them.
- Remove damaged materials: Assess the extent of the water damage to determine how much drywall needs to be removed. If the water level was below two-and-a-half feet, remove the wall material up to a height of four feet. This will facilitate the reinstallation of full sheets of drywall. If the water level exceeded two-and-a-half feet, remove the wall material up to a height of eight feet or the ceiling junction, whichever is higher. If you’re unsure about the water level, carefully inspect the drywall.
- Eliminate compromised drywall: Remove any cracked, crumbling, or sagging drywall. If the drywall is merely damp and the water source was clean (such as a burst pipe), it may be possible to dry it out. However, depending on the severity of the water damage, you may also need to remove damaged wall studs, flooring, cabinets, and ceilings.
Next, it’s time to cut the damaged portions of the drywall.
How to Cut Drywall
- Mark a straight line along the wall — above the point where the water stopped wicking — using a chalk line.
- Cut along the chalk line one-half or three-quarters of the way through the thickness of the drywall. Use a utility knife.
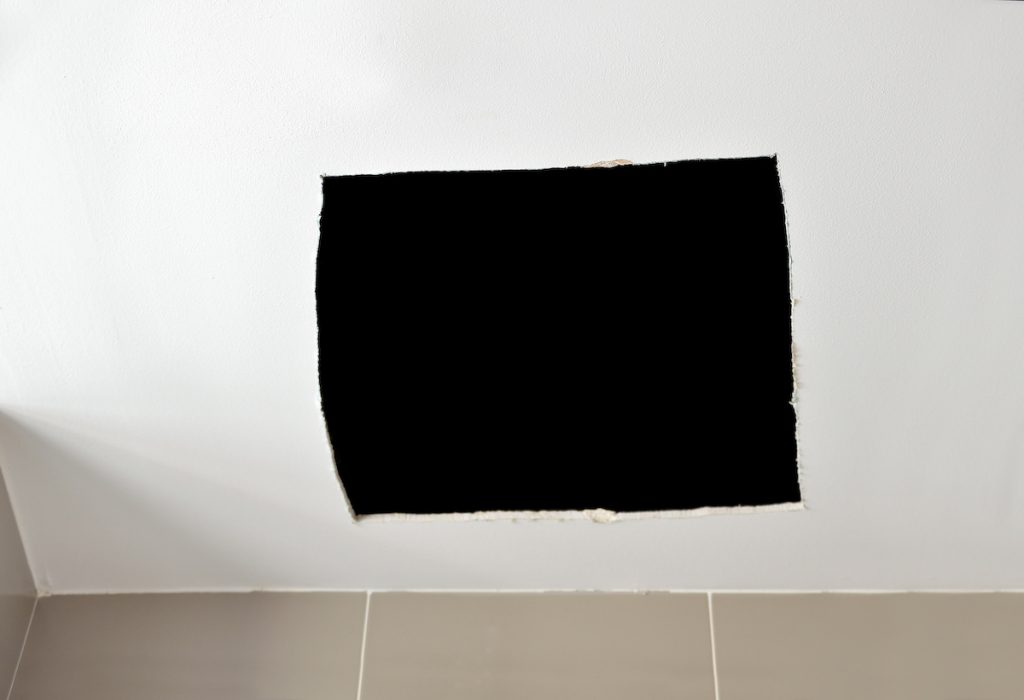
- Loosen and remove the damaged portion carefully. To make that easier, knock a small hole in the damaged drywall using a hammer. Use the hole as a handle to gently pull back the drywall.
- Once you cut out and remove the drywall, take out all the insulation (fiberglass, mineral wool, cellulose, wood fiberboard, etc.). Even if it doesn’t seem wet, it likely is. If it’s foam plastic insulation, you can leave it in place and allow it to dry.
Once the damaged drywall is removed, start drying the area around and inside the wall. Use high-efficiency blowers and dehumidifiers and open the windows and doors. Use fans to increase airflow behind walls and leave them running for at least two days so the studs and flooring can completely dry. Avoid punching holes in walls. This practice doesn’t help the wall dry faster. Plus, it makes it harder to repair your drywall.
Use a chemical sanitizer to prevent mold and bacteria from forming between walls. Avoid bleach, as it doesn’t prevent mold from growing. To remove severe odors, use an ozone machine and leave it running for at least eight hours. Vacate the area while the ozone machine is running.
How to Replace Water-Damaged Drywall
Now it’s time to hang new drywall. First, measure the size of the hole to help you know how much to cut out from a new sheet of drywall. Put four drywall clips around the hole and secure each one with a drywall screw.
Then, insert the drywall pieces and secure them to drywall clips. Don’t over-tighten the drywall screws. Use drywall tape and joint compound to blend it in with the existing drywall. Finally, sand the area several times for a smooth wall surface.
Painting the restored drywall is the final step. First, make sure that the joint compound is completely dry, as it would contain a lot of moisture. Then, paint the wall with a primer to help seal the area. After that, paint the entire wall to ensure the color is uniform throughout.
Read about how much does drywall repair cost?
For Professional Drywall Water Damage Repair, Call PuroClean!
As you’ve read, the procedures of how to repair water-damaged drywall are complicated and time-consuming. Everything needs to be done in a timely manner using the right techniques and tools.
Don’t risk further damage by taking on the task of drywall water damage repair yourself. For professional drywall water damage restoration and reconstruction, call your local PuroClean office. We use professional equipment, such as heavy-duty air movers, commercial dehumidifiers, moisture meters, and high-volume water extractors to quickly and efficiently dry and repair your drywall and the surrounding damp areas.