Mold Remediation Process Guide: Effective Cleanup Steps
Did you know that over 50 percent of homes have hidden moisture problems that can lead to mold? Unchecked mold can quickly cause serious damage to property and even impact your health. Knowing how to assess, contain, and safely remove mold is key to protecting your home and peace of mind. This step-by-step guide shows you practical actions to address mold problems and prevent them from coming back.
Table of Contents
- Step 1: Assess Mold Damage And Identify Affected Areas
- Step 2: Prepare Site And Contain Mold Spread
- Step 3: Remove Contaminated Materials Safely
- Step 4: Clean And Disinfect All Surfaces Thoroughly
- Step 5: Verify Remediation Success And Prevent Recurrence
Quick Summary
| Key Point | Explanation |
|---|---|
| 1. Assess mold damage thoroughly | Conduct a detailed inspection of all areas, focusing on moisture sources and visible mold. |
| 2. Contain mold areas effectively | Seal off contaminated zones with plastic sheeting to prevent spores from spreading. |
| 3. Remove contaminated materials safely | Handle affected items carefully, emphasizing total removal or proper cleaning based on material type. |
| 4. Clean and disinfect all surfaces | Use appropriate techniques on different surfaces to ensure all mold spores are eliminated. |
| 5. Verify success and prevention strategies | Ensure no signs of mold remain and address root moisture issues to prevent recurrence. |
|
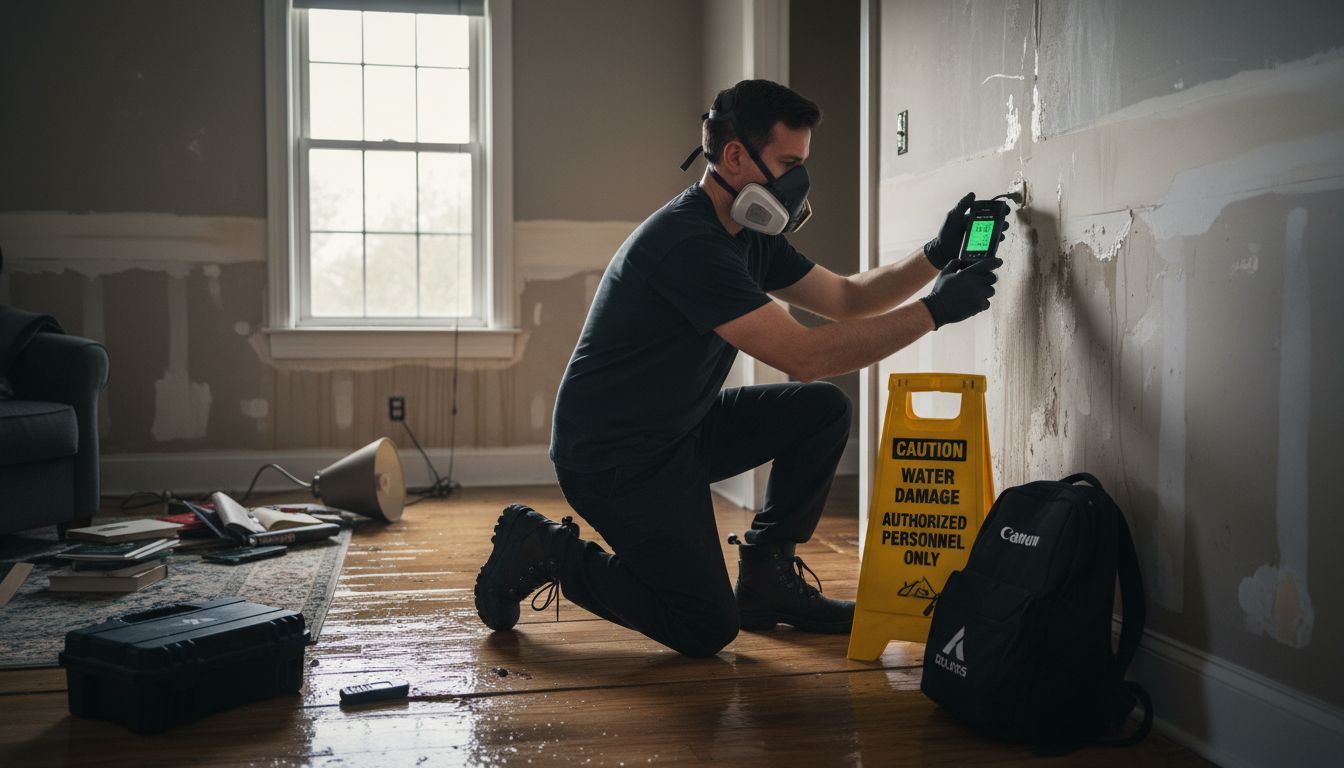
Step 1: Assess Mold Damage and Identify Affected Areas
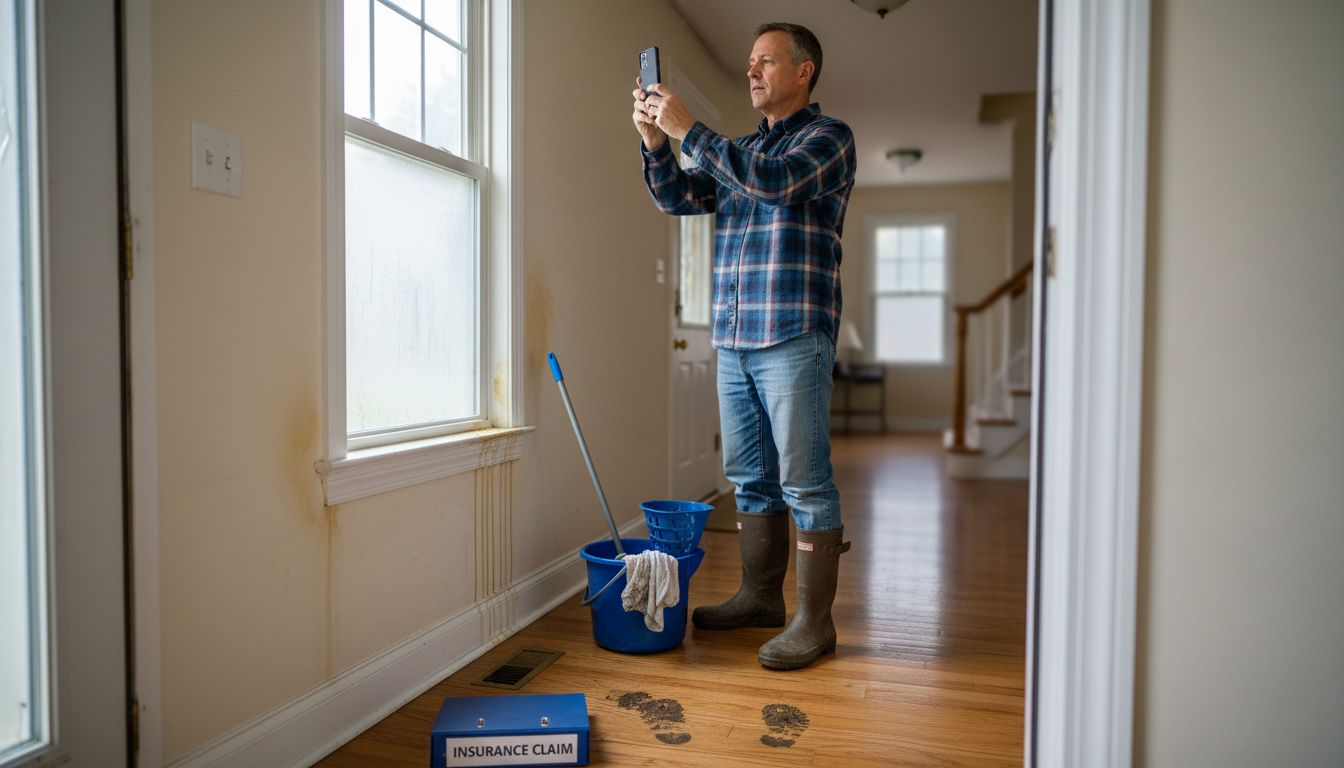
Addressing mold damage quickly and effectively starts with a thorough assessment of your property. The goal of this critical first step is to understand the scope of mold growth and identify all impacted areas before beginning remediation.
According to the CDC, mold thrives in moist environments both indoors and outdoors. This means you need to systematically investigate potential moisture sources and water damage zones. Begin by performing a comprehensive visual inspection of your property, paying close attention to areas prone to humidity and water exposure such as bathrooms, basements, crawl spaces, and areas near plumbing fixtures.
Here’s a summary of the recommended inspection areas and what to look for:
| Area to Inspect | What to Look For | Typical Warning Signs |
|---|---|---|
| Bathrooms | Moisture near fixtures | Dark spots Peeled paint Musty odor |
| Basements | Water intrusion Dampness | Stained walls Warped surfaces |
| Crawl Spaces | High humidity | Mold patches Condensation |
| Areas Near Plumbing Fixtures | Leaks Standing water | Discoloration Unusual stains |
| Walls, Ceilings, Floors | Visible mold Hidden water damage | Peeling wallpaper Warped wood |
Start your assessment by checking for visible signs of mold growth like dark spots, discoloration, or unusual staining on walls, ceilings, and floors. Look for subtle indicators like peeling wallpaper, warped surfaces, or musty odors. The EPA recommends addressing water damage within 24 to 48 hours to prevent significant mold proliferation.
Pro Tip: Use a bright flashlight and wear protective gear like gloves and a mask during your initial inspection to safely examine potential mold zones.
If you discover extensive mold growth or suspect hidden damage behind walls or under flooring, consider consulting a professional mold damage assessment guide to ensure a comprehensive evaluation.
Once you have identified all affected areas, you will be ready to move forward with targeted mold removal strategies that address both visible growth and underlying moisture problems.
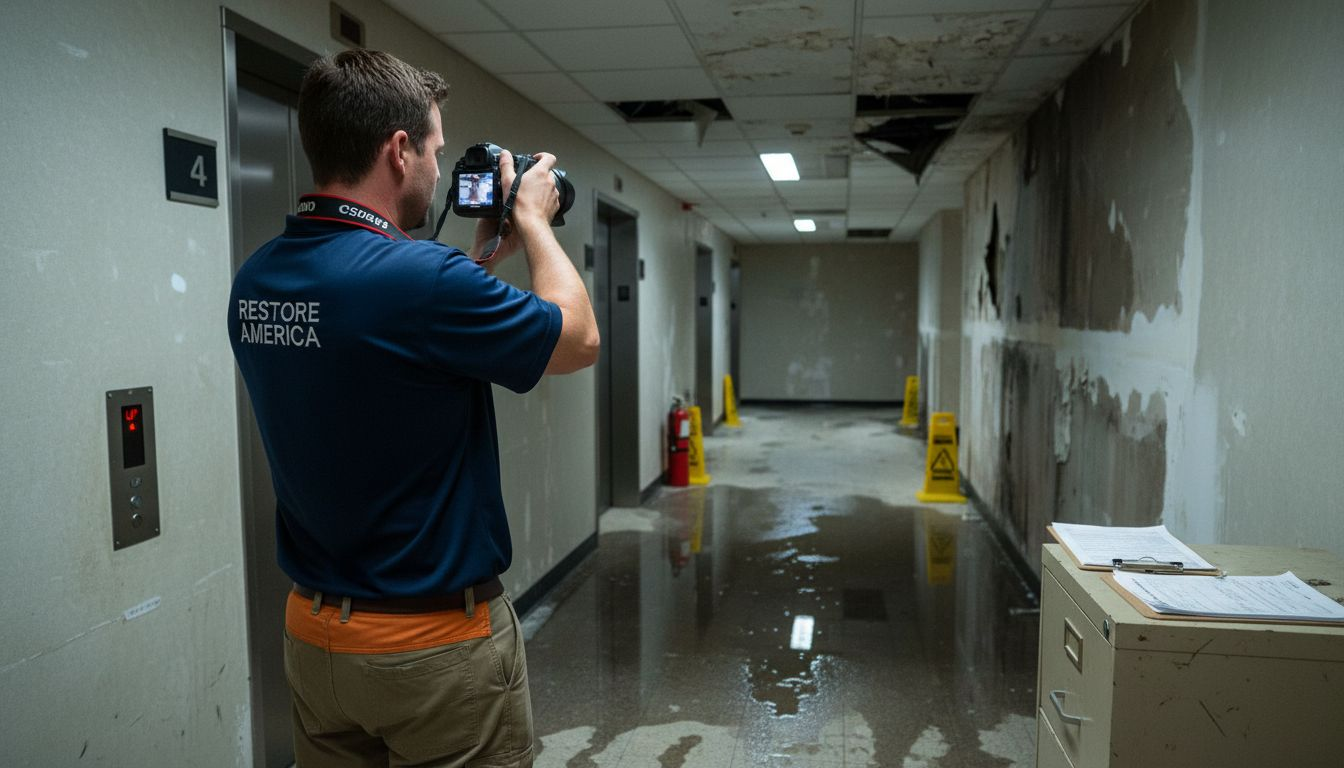
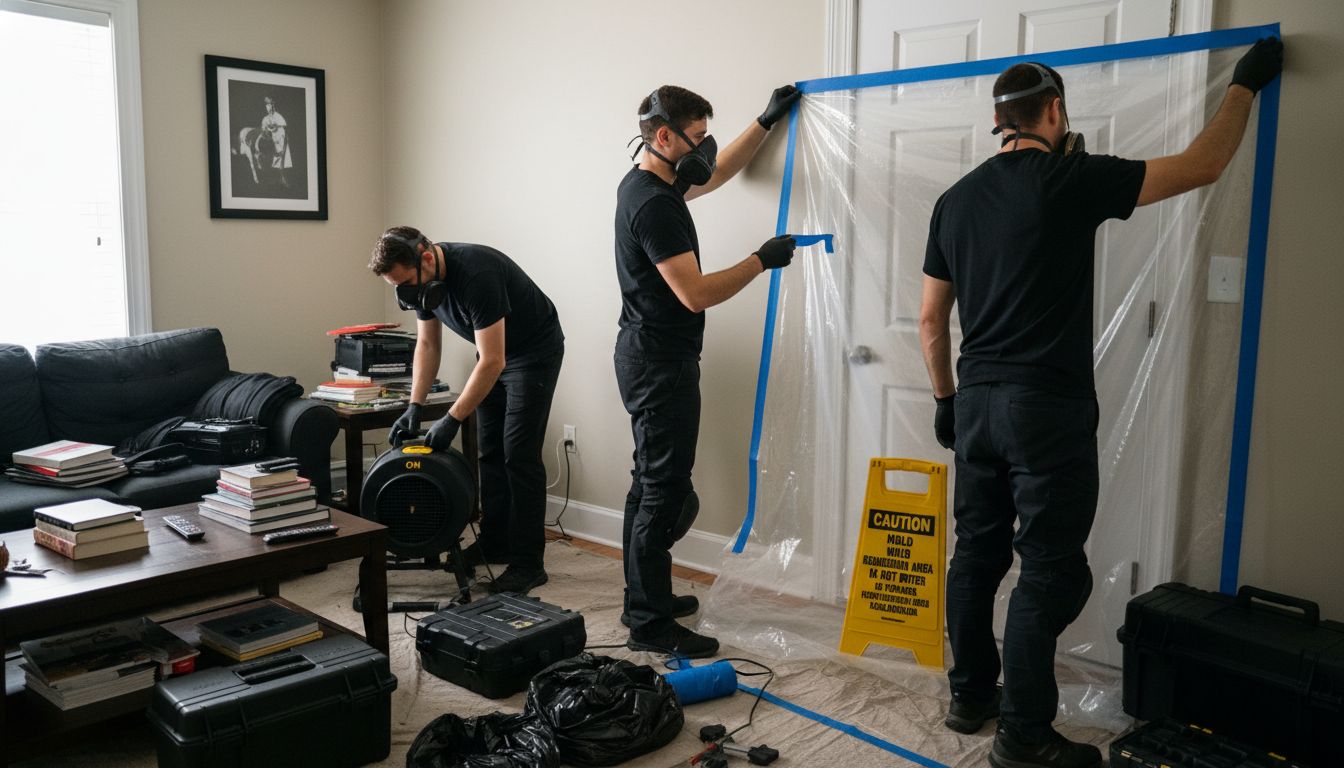
Step 2: Prepare Site and Contain Mold Spread
After identifying mold damaged areas, your next critical step is preparing the site and preventing mold spores from spreading throughout your property. Proper containment is essential to protect unaffected areas and minimize potential health risks during remediation.
According to OSHA, developing a comprehensive mold remediation plan requires strategic work area isolation and specific containment techniques. Start by sealing off the affected area using plastic sheeting and creating a clear boundary between contaminated and clean zones. This physical barrier helps prevent cross contamination during the cleanup process.
The EPA recommends using different containment strategies based on the size of the affected area. For smaller mold infestations (less than 10 square feet), you can use simple plastic sheeting to block doorways and ventilation openings. Larger areas might require more complex containment methods like creating negative air pressure zones and installing HEPA air filtration devices.
Pro Tip: Always wear proper personal protective equipment including respirators, gloves, and disposable coveralls to protect yourself during the containment process.
For those uncertain about managing extensive mold problems, consult a mold cleaning guide to ensure safe and effective remediation practices.
Once you have successfully contained the mold area, you will be ready to move forward with the actual removal and cleaning process.
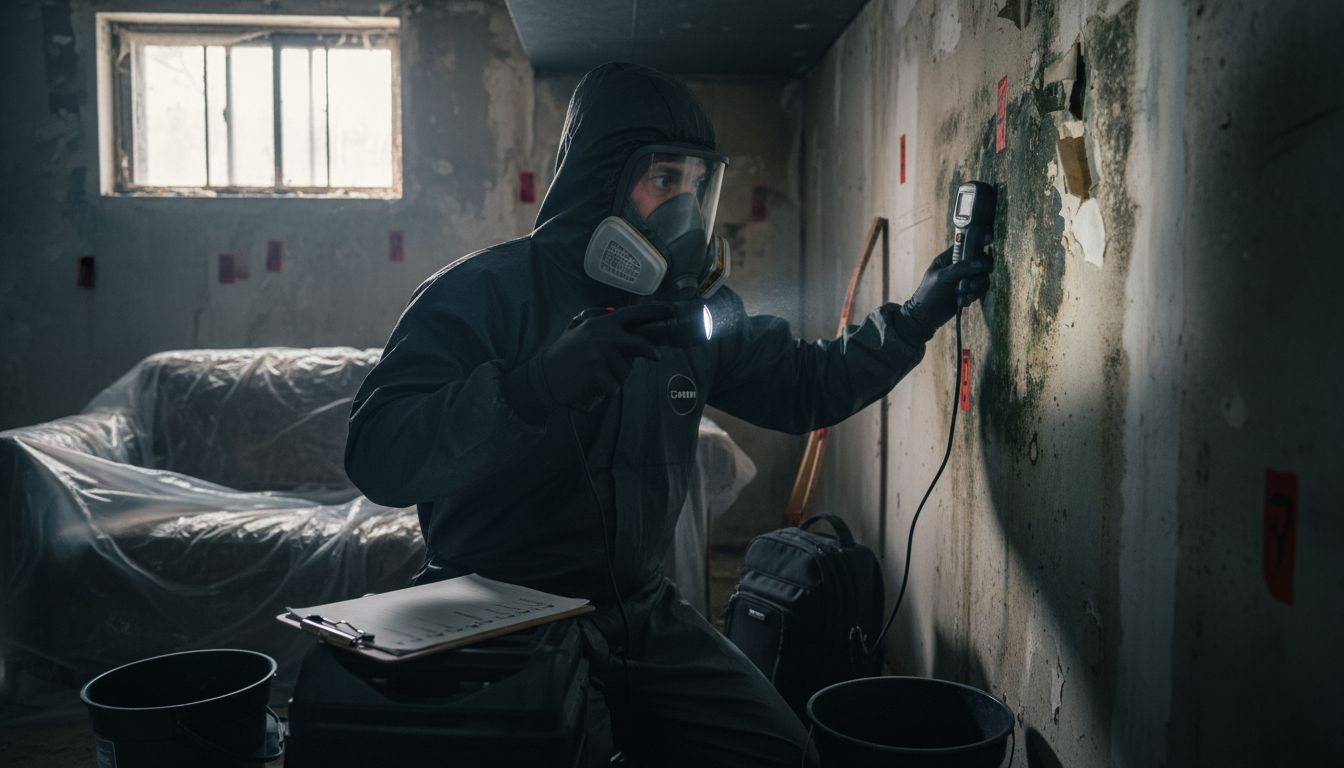
Step 3: Remove Contaminated Materials Safely
Removing mold contaminated materials requires careful planning and execution to prevent further spread and minimize health risks. Your goal is to systematically remove affected materials while protecting yourself and preventing cross contamination.
According to the EPA, different building materials demand unique remediation approaches. Porous materials like drywall, carpeting, and ceiling tiles with extensive mold growth typically need complete removal and replacement. Non porous surfaces such as metal, glass, and sealed concrete can often be cleaned and salvaged through thorough scrubbing and disinfection.
The Whole Building Design Guide recommends assessing the extent of contamination before removal. For small areas less than 10 square feet, you can likely handle removal yourself. Larger or more extensive mold infestations require professional intervention to ensure comprehensive and safe remediation.
Pro Tip: Always wear appropriate personal protective equipment including disposable coveralls, respirators with HEPA filters, protective gloves, and eye protection during material removal.
If you are uncertain about managing complex mold contamination scenarios, consulting a biohazard cleanup guide can provide additional insights into safe removal techniques.
Once you have carefully removed all contaminated materials, you will be prepared to begin the thorough cleaning and disinfection of the affected areas.
Step 4: Clean and Disinfect All Surfaces Thoroughly
After removing contaminated materials, thoroughly cleaning and disinfecting all remaining surfaces is crucial to preventing mold regrowth and ensuring a complete remediation. Your goal is to eliminate all traces of mold and create an environment inhospitable to future contamination.
According to the EPA, different surfaces require specific cleaning approaches. Non porous surfaces like metal, glass, and sealed concrete can be cleaned using commercial antimicrobial solutions designed to kill mold spores. For these surfaces, use a scrub brush and thoroughly rinse with clean water after application.
OSHA emphasizes the importance of comprehensive cleaning, particularly in HVAC systems where mold can easily spread. This involves removing all visible dirt, debris, and mold growth from air ducts, vents, and surrounding areas. Use HEPA vacuum cleaners to capture microscopic spores and prevent their redistribution during the cleaning process.
Pro Tip: Always work from the cleanest areas to the most contaminated to prevent cross contamination and use fresh cleaning materials for each section.
If you find the cleaning process overwhelming or encounter extensive contamination, consulting a coronavirus cleaning guide can provide additional insights into thorough disinfection techniques.
Once all surfaces are meticulously cleaned and disinfected, you will be ready to implement strategies to prevent future mold growth.
Step 5: Verify Remediation Success and Prevent Recurrence
Successful mold remediation goes beyond cleaning surfaces. Your final goal is to confirm complete removal and establish long term prevention strategies that stop future mold growth. This critical step ensures your hard work provides lasting protection for your property.
According to the EPA, determining remediation success involves several key criteria. First, verify that all visible mold has been completely removed. Check for the absence of moldy odors and ensure that the underlying moisture problem that initially caused mold growth has been permanently resolved.
OSHA emphasizes the importance of comprehensive post remediation inspections. This means thoroughly examining all previously affected areas for any signs of new moisture or potential mold regrowth. Pay special attention to areas with previous water damage or high humidity such as bathrooms, basements, and areas near plumbing fixtures.
Pro Tip: Use a moisture meter to detect hidden moisture levels in walls, floors, and other surfaces that might not be visible to the naked eye.
For complex scenarios or persistent moisture issues, consulting a coronavirus cleaning guide can provide additional insights into comprehensive property sanitization and moisture control techniques.
To prevent future mold growth, maintain consistent humidity levels below 50 percent, ensure proper ventilation, and address any water leaks or moisture intrusion immediately.
Take Control of Mold Damage with Trusted Experts
Mold growth can seem overwhelming after water damage or hidden leaks and knowing exactly how to assess, contain, and remove mold safely is critical to protect your home or business. This detailed mold remediation process guide highlights key challenges such as identifying hidden moisture, containing spores to prevent spread, and verifying that your property is truly mold-free after cleanup. If you’re facing these concerns, you need professional support that understands the urgency and complexity of mold removal.
Protect your property and loved ones by choosing PuroClean of Northeast Sacramento for expert mold remediation and restoration services. Our certified team is available 24/7 to quickly respond, contain affected areas, and apply proven cleaning and disinfection methods. Don’t risk recurring mold damage or health issues. Visit our emergency restoration page now to get immediate help and experience compassionate, thorough service designed to restore safety and peace of mind.
Frequently Asked Questions
What are the first steps in the mold remediation process?
To start the mold remediation process, perform a comprehensive visual inspection of your property to assess mold damage and identify all affected areas. Focus on areas prone to moisture, such as bathrooms and basements, and document any visible signs of mold growth.
How can I prepare a site for mold remediation?
Prepare the site by sealing off the affected area with plastic sheeting to prevent mold spores from spreading to clean zones. Ensure that you create a clear boundary around contaminated areas to limit exposure during the cleanup process.
What should I do if I discover extensive mold contamination?
If you discover extensive mold contamination, it’s best to consult a professional mold remediation service to ensure safe and thorough removal. Attempting to handle large infestations without expertise can lead to ineffective cleanup and health risks.
How can I properly clean and disinfect surfaces after mold removal?
After removing contaminated materials, clean and disinfect all remaining surfaces using appropriate antimicrobial solutions. Focus on scrubbing non-porous surfaces and ensure you rinse well with clean water to eliminate any remaining mold spores.
How do I verify that my mold remediation was successful?
To verify remediation success, check that all visible mold has been removed and there are no lingering odors. Inspect affected areas thoroughly for any signs of moisture or new mold growth, especially within 24-48 hours after cleaning.
What steps can I take to prevent mold recurrence in my property?
To prevent future mold growth, maintain humidity levels below 50% and ensure proper ventilation throughout your property. Address any water leaks immediately to minimize moisture intrusion and regularly inspect high-risk areas like basements and bathrooms.