Biohazard cleanup is more than just cleaning up a mess. It is a specialized process designed to eliminate dangerous contaminants such as blood, bodily fluids, human or animal waste, sharps, and microbial growth. The goal is to make environments safe again while protecting people from exposure to harmful pathogens. Done improperly, biohazard cleanup can create new risks, spread contamination, and compromise health and property.
Why proper biohazard cleanup matters
Correct cleanup ensures protection against infectious diseases, eliminates persistent odors, and reduces the risk of structural damage. It also protects property owners from liability issues and supports insurance claims.
When situations qualify as biohazards
Any incident involving blood, bodily fluids, sewage backups, hoarding environments, trauma scenes, or medical waste qualifies as a biohazard situation. If there is any uncertainty about the presence of pathogens, the safest approach is to treat it as a biohazard and follow proper cleanup protocols.
Risks of Mishandling Biohazardous Materials
Health and infection risks
Pathogens such as Hepatitis B, Hepatitis C, and HIV can be present in even the smallest amounts of blood or bodily fluids. Transmission can occur through cuts, inhalation, or contact with mucous membranes.
Cross-contamination and property damage
Without proper containment, contaminants can spread to clean areas via clothing, tools, or airflow. Porous materials like carpet or drywall may absorb contaminants, making cleanup more complex and expensive.
Legal, insurance, and reputational risks
There are strict regulations for handling and disposing of biohazard waste. Mishandling can lead to legal penalties, denied insurance claims, and reputational damage for businesses or property owners.
Step 1: Initial Assessment
Identify the type and extent of contamination
Begin with a detailed walkthrough. Identify contaminants, affected areas, and the materials involved. Take photos and map out contamination zones.
Stabilize the scene and secure the perimeter
Control access to the area by posting warning signs and using barriers to prevent entry. Shut down HVAC systems if necessary to prevent airborne spread.
Establish hot, warm, and cold zones
The hot zone is the contaminated area. The warm zone is for PPE transitions. The cold zone is a clean space for supplies and staging.
Create a written site safety plan
Document hazards, protective measures, and cleanup procedures. This ensures the team has clear instructions and proof of compliance.
Step 2: Safety Precautions
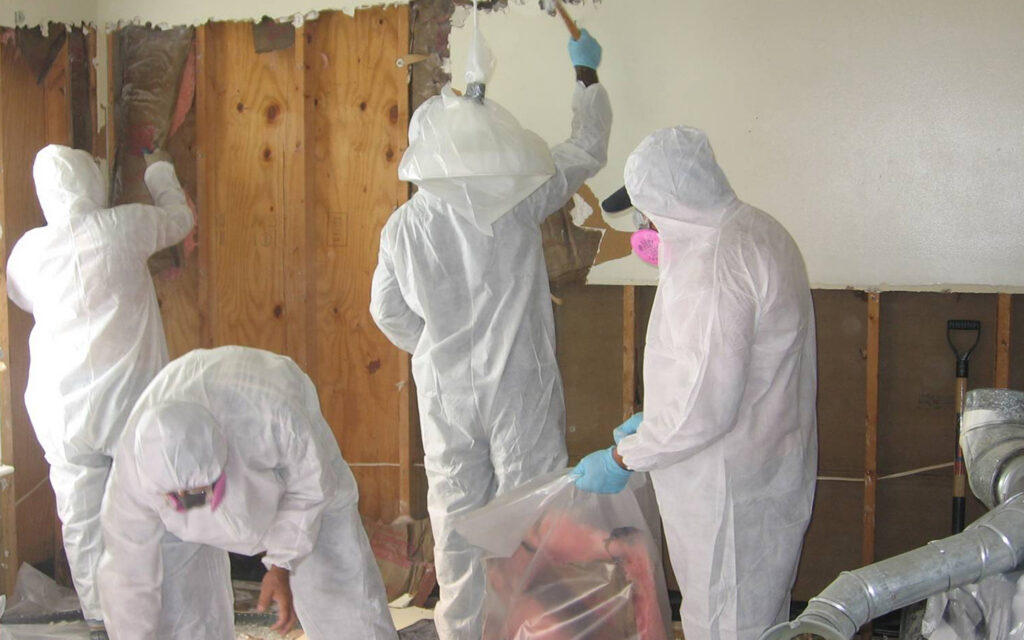
Use of personal protective equipment (PPE)
Cleanup requires protective gear such as gloves, coveralls, boots, masks, and respirators. PPE must be worn at all times and replaced when damaged or saturated.
Hygiene and exposure controls
Personnel should follow strict hygiene practices. Training in bloodborne pathogen standards and vaccinations, such as Hepatitis B, are often required.
Containment and ventilation
Negative air machines and HEPA filters are used to maintain negative pressure, ensuring contaminants do not escape the affected area.
Decontamination stations
Set up a step-by-step exit path where workers remove PPE and disinfect before leaving the area.
Step 3: Removal of Contaminated Materials
Segregation of waste
Soft waste such as textiles and PPE is separated from hard debris and sharps. Each category requires specific handling procedures.
Safe handling and packaging
Materials are carefully placed in red biohazard bags, sealed containers, or puncture-resistant sharps boxes. All are labeled with biohazard symbols.
Transport preparation
Containers are disinfected externally, sealed properly, and stored securely until collected by licensed waste disposal professionals.
Step 4: Cleaning and Sanitizing
Gross removal and detailed cleaning
The first phase removes bulk contaminants, followed by detailed cleaning of surfaces and fixtures. Work from top to bottom and clean to dirty.
Disinfectants and dwell time
Only EPA-approved hospital-grade disinfectants should be used, with proper dwell time followed to ensure effectiveness.
Porous and non-porous materials
Non-porous surfaces can be disinfected, while porous items like saturated carpet or drywall may need to be discarded.
Odor neutralization
After cleaning, HEPA air scrubbers and odor-neutralizing agents are used to remove lingering smells.
Step 5: Proper Disposal
Storage and transport
Waste is securely stored in labeled containers until collection by licensed biohazard disposal companies.
Compliance and documentation
Disposal requires manifests and documentation that confirm proper handling and transport. These records are essential for insurance and regulatory compliance.
Equipment and vehicle decontamination
All tools and vehicles used for transporting waste must be disinfected before reuse.
Step 6: Final Inspection and Clearance
Testing and verification
A thorough visual inspection is followed by ATP testing or protein swabs to ensure decontamination is complete.
Restoration of the area
After clearance, affected areas may be restored with new building materials as needed.
Close-out reporting
Final reports, including before-and-after photos, testing results, and disposal manifests, provide assurance for property owners and insurers.
Post-Incident Recovery
Support and communication
Since many biohazard incidents involve trauma, professional teams provide respectful and empathetic communication.
Follow-up inspections
Return visits may be necessary to check for hidden contamination or odor reappearance.
DIY vs Professional Biohazard Cleanup
When to call experts
Any situation involving blood, bodily fluids, sewage, or unknown contaminants should always be handled by certified professionals.
Choosing the right company
Select a company with specialized training, proper insurance, and documented cleanup methods.
Questions to ask
Ask about PPE, disinfectants, disposal procedures, clearance testing, and insurance before hiring.
Preparedness and Prevention
Spill kits and training
Keep spill kits with absorbents, PPE, and disinfectants on site. Train employees in emergency response and containment.
Recordkeeping and review
Maintain logs of incidents, cleanup processes, and training updates for safety and compliance.
Conclusion
Biohazard cleanup is not ordinary cleaning. It requires a structured process of assessment, safety precautions, removal, disinfection, disposal, and verification. By following these steps, property owners protect health, maintain compliance, and restore spaces safely. For complex or large-scale incidents, hiring professionals is the safest and most effective choice.
FAQs
1. What is considered a biohazard that requires cleanup?
Blood, bodily fluids, sewage, animal waste, sharps, and microbial growth are all considered biohazards.
2. Can household cleaning products be used for biohazard cleanup?
No, only EPA-registered hospital-grade disinfectants should be used.
3. How long does biohazard cleanup take?
Time varies depending on the size and extent of contamination. Small jobs may take hours, while larger scenes may take days.
4. Who regulates biohazard waste disposal?
Local, state, and federal agencies regulate the storage, transport, and disposal of biohazard waste.
5. Why hire a professional biohazard cleanup company?
Certified professionals have the training, equipment, and licenses required to ensure safety, compliance, and complete decontamination.


