Introduction
Mold growing inside walls is a silent yet dangerous problem that many homeowners face. Hidden mold can spread undetected, causing structural damage and serious health issues like allergies, respiratory problems, and persistent headaches. If left unchecked, mold colonies can weaken drywall, ruin insulation, and create a toxic environment inside your home.
For immediate assistance with mold restoration service in Ohio, contact PuroClean certified restoration specialists.

This guide will walk you through how to detect, remove, and prevent hidden mold in walls, ensuring your home stays mold-free.
Signs of Hidden Mold in Walls
Mold inside walls can go unnoticed for a long time, but some telltale signs include:
- Musty Odor: A persistent, damp, or earthy smell suggests hidden mold growth.
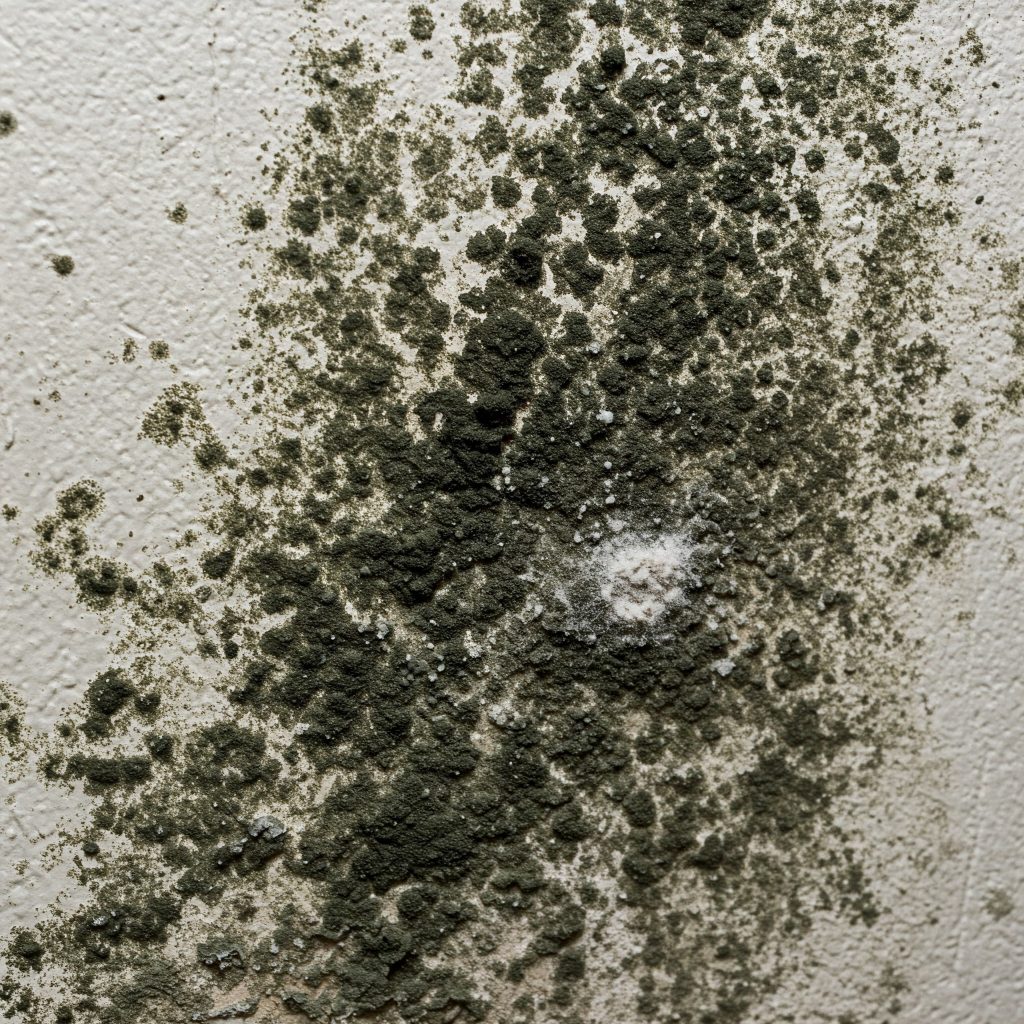
- Discoloration on Walls: Yellow, green, or black stains may indicate mold underneath the surface.
- Peeling or Bubbling Paint: Excess moisture inside the walls can cause paint or wallpaper to deteriorate.
- Warping or Soft Walls: Mold breaks down drywall, causing warping, crumbling, or soft spots.
- Unexplained Allergy Symptoms: Frequent sneezing, coughing, and itchy eyes indoors could mean mold exposure.
How to Check for Mold Inside Walls
1. Perform a Visual Inspection
Look for any water stains, discoloration, or visible mold patches on walls and ceilings, especially in damp areas like bathrooms and basements.
2. Use a Moisture Meter
A moisture meter can detect hidden dampness inside walls. High moisture levels may indicate potential mold growth.
3. Conduct a Smell Test
If a musty odor intensifies when you are near certain walls, there’s a good chance mold is present.
4. Cut a Small Test Hole
If you suspect mold behind the wall, carefully cut a small hole and use a flashlight to inspect for growth. Be cautious, disturbing mold can release spores into the air.
How to Remove Mold from Inside Walls
Step 1: Gather Your Supplies
Before starting, wear protective gear to avoid inhaling mold spores:
- N95 mask or respirator
- Safety goggles
- Rubber gloves
- Plastic sheeting to seal the work area
- A utility knife or drywall saw
- A HEPA vacuum
- A scrub brush
- A mixture of water and detergent (or a commercial mold cleaner)
- White vinegar or hydrogen peroxide
Step 2: Contain the Affected Area
To prevent mold spores from spreading, seal the work area with plastic sheeting and tape. Close air vents and open windows for ventilation.
Step 3: Cut Out the Mold-Infested Drywall
Use a utility knife to cut out the affected drywall. Dispose of it in sealed plastic bags to prevent contamination.
Step 4: Clean and Disinfect
Scrub the exposed wall cavity with a mold-killing solution (vinegar, hydrogen peroxide, or a commercial mold cleaner). Allow it to sit for 10-15 minutes before wiping it clean.
Step 5: Dry the Area Completely
Use fans and dehumidifiers to ensure the space is completely dry before replacing drywall.
Step 6: Replace and Paint
Once the area is dry, install new drywall and paint with mold-resistant paint to prevent future growth.
Preventing Mold from Coming Back
1. Control Moisture
- Repair leaks in pipes, roofs, or windows.
- Keep humidity levels below 50% with a dehumidifier.
- Ensure proper ventilation in kitchens, bathrooms, and basements.
2. Use Mold-Resistant Materials
- Install mold-resistant drywall in high-moisture areas.
- Use mold-resistant paint as an extra layer of protection.
3. Improve Air Circulation
- Use exhaust fans in bathrooms and kitchens.
- Move furniture away from walls to allow airflow.
- Open windows regularly to reduce indoor humidity.
4. Regularly Inspect High-Risk Areas
- Check under sinks, in basements, and around windows for early signs of mold.
- Clean and maintain gutters to prevent water seepage into walls.
When to Call a Professional
While small mold infestations can be managed with DIY methods, call a mold remediation expert if:
- The affected area is larger than 10 square feet.
- You have persistent mold growth despite cleaning.
- There are severe health symptoms related to mold exposure.
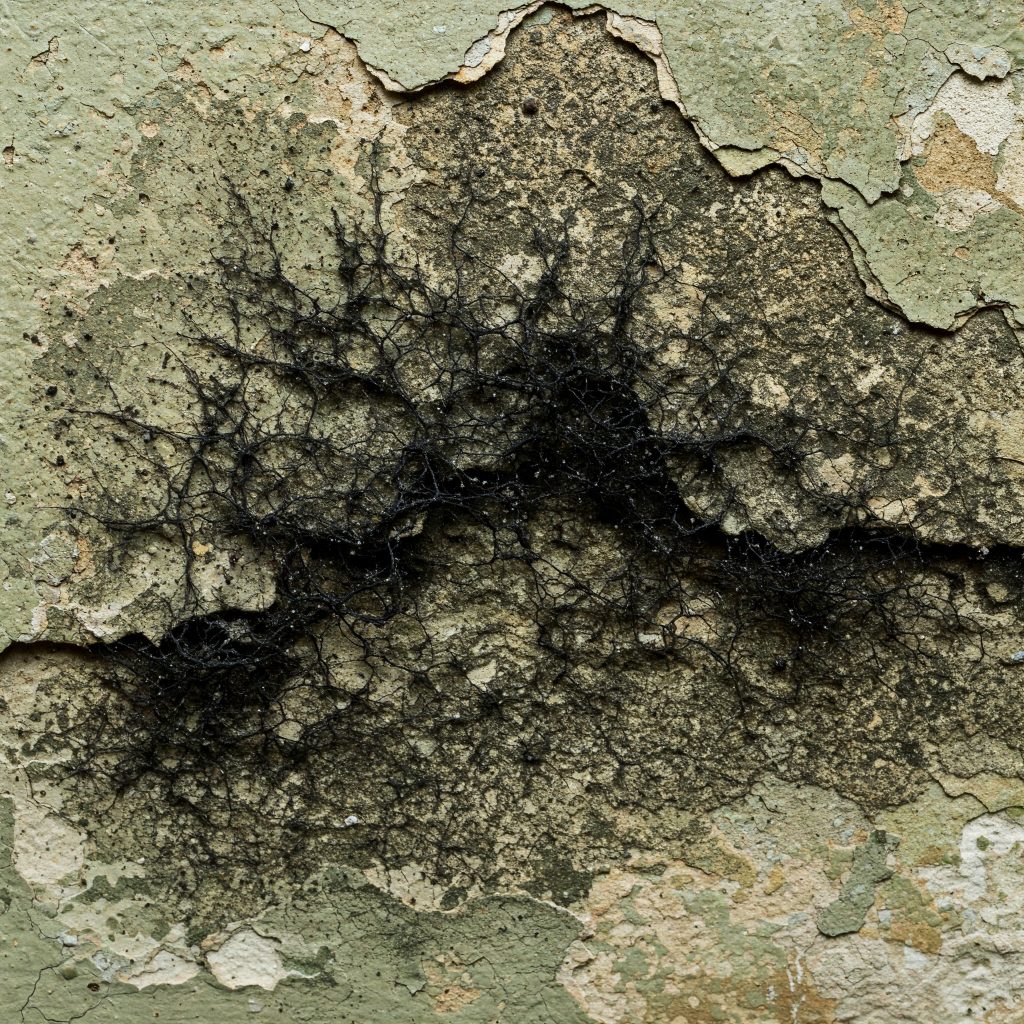
- The mold is black and toxic (Stachybotrys chartarum).
Conclusion
Hidden mold in walls is a serious issue that requires immediate action. By identifying signs early, using the right removal techniques, and implementing long-term prevention strategies, you can keep your home safe from mold damage. Regular inspections, moisture control, and proper ventilation are key to ensuring mold doesn’t return.
If you suspect mold in your home and aren’t sure how to handle it, don’t hesitate to seek professional help for effective mold remediation.
FAQs About Mold in Walls
Q1: How do I know if mold is behind my walls?
A musty smell, peeling paint, wall discoloration, or soft drywall can all indicate hidden mold.
Q2: Can I remove mold inside walls myself?
Yes, for small mold patches. But for extensive mold (over 10 sq ft), professional removal is recommended.
Q3: What kills mold in walls permanently?
A combination of mold cleaner, vinegar, hydrogen peroxide, and moisture control can prevent mold from returning.
Q4: Does mold spread if left untreated?
Yes, mold spores travel through the air and can spread to other areas of your home.
Q5: How fast does mold grow inside walls?
Mold can start growing within 24-48 hours of moisture exposure and spread rapidly.
Q6: Will painting over mold solve the problem?
No. Mold-resistant paint helps prevent future growth but does not kill existing mold. The source must be removed first.
Q7: Can mold in walls make you sick?
Yes, exposure to mold can cause allergies, respiratory issues, and even severe health conditions for those with compromised immune systems.
Q8: What should I do if mold keeps coming back?
Check for hidden leaks, improve ventilation, and consider professional remediation if the problem persists.
By following this guide, you can effectively tackle mold in walls and keep your home mold-free for the long term!


